


We’ve all been there—planted a beautiful new perennial that you were so excited to bring home from the garden center and halfway through the season realized that it would fit much better in a new and different home. Sometimes, it may be the case that your perennial is not performing as well as you expected in its current location. Or, it can simply be a matter of preference! Learning how to transplant perennials is something that many avoid, but it is an essential skill to learn as a gardener! Here is a step-by-step guide on how to successfully transplant perennials in your garden.
How To Transplant Perennials: A Step-By-Step Guide
The biggest thing to remember when you are transplanting perennials is to avoid stressing the plant out as best you can. It is best to transplant perennials on a cloudy, overcast day or in the early evening as direct, hot sun is one of the number one factors that is almost sure to stress your newly transplanted perennial out.
If you absolutely must transplant on a sunny day, be sure to sufficiently water your plant and provide it with some shade for the day (even an umbrella will help!). And, it is best to transplant perennials in either early spring or late fall, either before or after they have finished their bloom cycle for the season.
Step 1: Prepare for Success
As you prepare to transplant your perennials, ensure that you have a spade, some topsoil, compost, organic mulch, and your hose ready. It helps to know your plant’s needs before transplanting as well. Some late-season bloomers prefer being moved in early spring and vice versa.
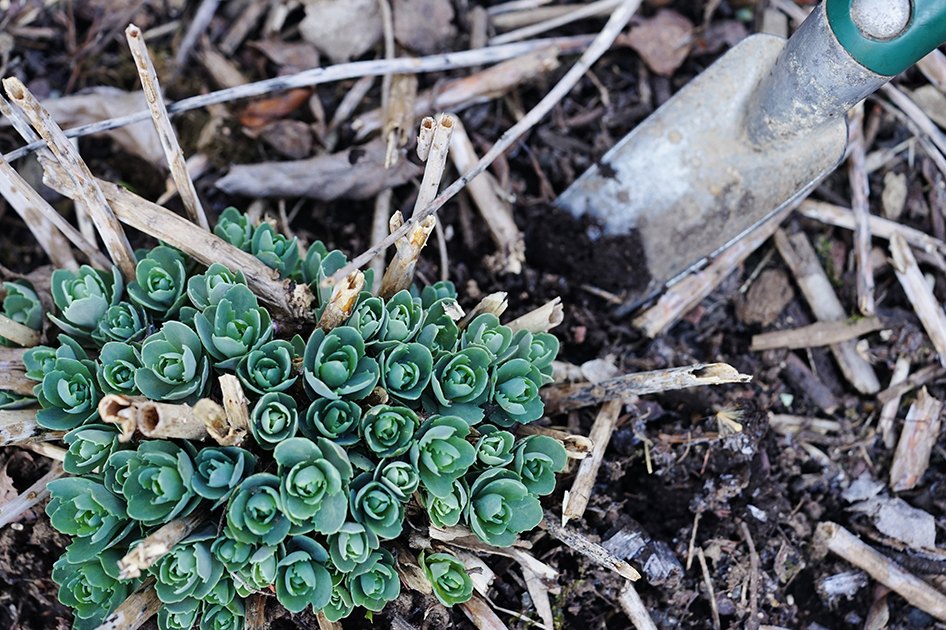
Dividing your perennials before transplanting is another often overlooked garden task. If your perennial plant was once blooming successfully but has not been flowering this season or if the center seems to be dying back, that is likely a good sign that it needs to be divided. If this is the case, you will follow many of these similar steps, but you will first need to dig up and separate the plant into sections. You can do this by gently pulling or teasing the roots apart with your hands, separating them with a spade, or placing two garden forks back to back at the center of the root clump and gently pulling them apart.
Step 2: Get Your Plant’s New Home Ready for Its Arrival
First, grab your spade and dig a hole in your new desired location that is approximately twice as wide as the plant’s root ball, but keep it to about the same depth. Aerate the soil slightly to ‘fluff’ it up and make it a bit more of a comfortable landing. Now is a great time to mix in some of that compost as well! You can also water the soil, so it is moist and ready for your plant’s arrival.
Step 3: Remove Your Perennial From Its Current Home
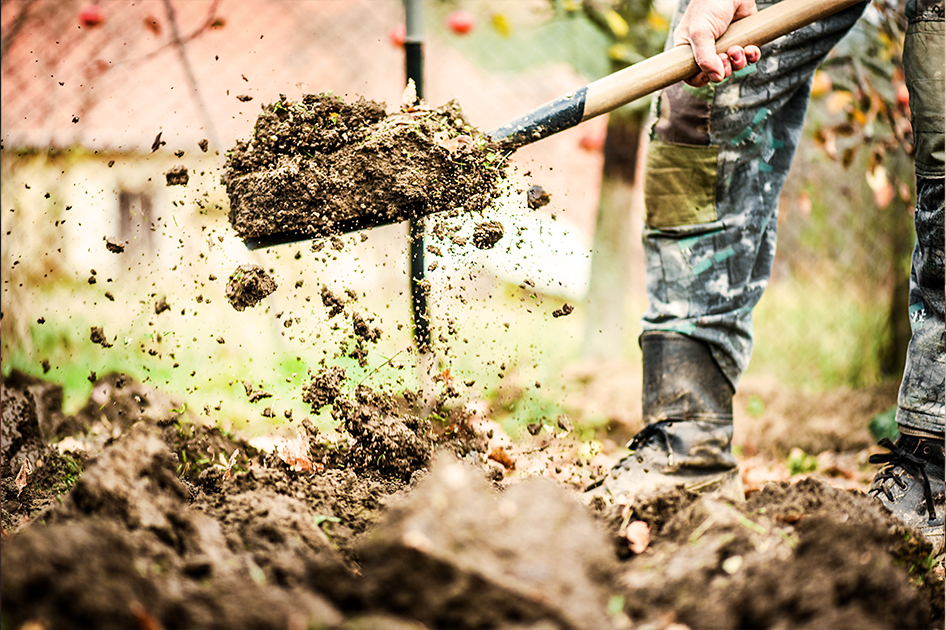
Before you dig your perennial up as you prepare to transplant it, be sure to water the soil fairly sufficiently as it will make it easier to remove. Then, take your spade and start digging around the plant’s drip line, and if you hit roots or bulb, then pull your shovel out and move a little farther out. The idea is to keep as much of the root ball intact to reduce stress and recovery time as much as possible. Once you think you have cut far enough out and deep enough down, take your shovel and attempt to gently remove the root ball by lifting it out of the hole you have created.
Step 4: Place The Plant in Its New Home & Get It Acclimated
Now that you have removed your perennial from its current location, it is time to transplant it to its new home! Take the plant and place it gently into the hole you already dug. Fill the empty spaces around the root ball with soil and pack it lightly. Then, add some organic mulch around the base of the plant to help it conserve moisture as it gets acclimated. Then, be sure to sufficiently water your plant in its new home.

Learning how to transplant perennials doesn’t have to be complicated. By following a few simple steps and ensuring that some basic needs are met in the process, you should be able to give your plant a good start in its new location. If you’re on the hunt for some gorgeous new perennials, be sure to order our fall catalogue now!