
Calla Lilies are a timeless addition to any garden. Their name derives from the Greek word for beautiful (calla), and they certainly stand up to the moniker. While they are not actually part of the Lily family, their care requirements are somewhat similar in nature. There are a few subtle differences among Calla Lily varieties, which we will describe below in this guide to growing and caring for these classic and ornamental flowers.
The easiest way to overwinter Calla Lilies planted in containers is to simply bring the entire pot into a cool, dry place for the season. Essentially, you just want to keep them from freezing.

How to Plant Calla Lilies in the Garden
Calla Lilies are grown from bulbs and, aside from a select variety, prefer moist but well-draining soil. They enjoy moderate sunlight and are winter hardy from zones 6 through 10, depending on the variety. (Be sure to check this when you purchase your Callas, as some varieties are considerably less winter hardy than others.) Plant Calla Lilies outdoors in the spring once the frost is no longer in the forecast.
Calla Lily bulbs have eyes, and the eyes are where the growing points are going to be. When you look at your bulbs, there should be one side that is slightly concave and another slightly more convex. The concave side is the one that should be pointing up, and you should even be able to see circular rings around the center that look a little bit like an eye.
If you live in a colder zone than your chosen variety is rated for, your Calla Lilies are not likely to survive the winter. If you have planted them directly in the ground rather than in containers, you can dig up the bulbs to overwinter them in a cool, dry place.
Ideally, you will want to wait until all of their foliage has browned and looks relatively spent, as this will ensure that they were able to store all the nutrients they needed to survive the winter and come back healthy the following season. Once you have dug up your Calla Lily bulbs, you can gently shake or brush off some of the dirt and then leave them stored in a warm, dry place for about a week. This will allow the outer skin time to toughen up and help it survive the winter. After that, you can put them in a paper bag and store them in a cool, dry place like your garage for the winter.

Container Planting With Calla Lilies
Container gardening is a little different than planting in the garden. Some gardeners will make the mistake of planting bulbs quite deep into a container, but to help your Calla Lily collection thrive, you want to plant the bulb at a depth that the soil below is about three times the height of the bulb. Ensure that you are also adding a good compost medium to the soil because it will have all of the nutrients your Calla Lily bulbs will need to grow to their full potential.
Another consideration when it comes to container planting is spacing. If you are planting in the ground in your garden, you will likely want to space your bulbs about three times the width of the plant apart, but when it comes to container planting, you want to create more of a focal impact. This means that you will place them quite close together because this way, they will fill the container with leaves and flowers.
The easiest way to overwinter Calla Lilies planted in containers is to simply bring the entire pot into a cool, dry place for the season. Essentially, you just want to keep them from freezing. While some may recommend digging the bulbs up out of the containers, we do not see this as a necessary step! They actually store better in the soil than they do once they have been dug up.
Some of Our Favorite Calla Lily Varieties
We often like to look at flowers a little bit like a cake. Flowers are kind of like the icing, while the foliage offers a bit more substance to the plant, like the cake itself. When you look at a garden, the ‘icing’ only really makes up about 5% of it, so it’s important to have a lot of attractive ‘cake’ as well!
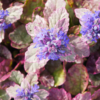
Calla Lilies, also known as Zantedeschia, are special in the sense that they have the whole package. Their foliage is almost as stunning as their flowers! There are several different varieties of Calla Lilies, and there are some fairly distinct differences between them in terms of the conditions that they prefer to be planted and grown in.
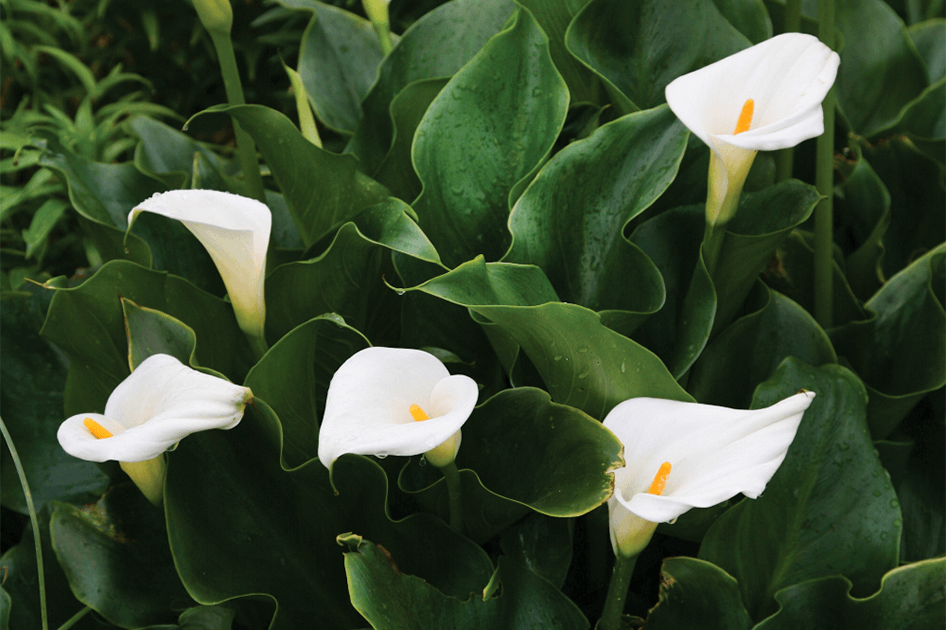
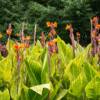
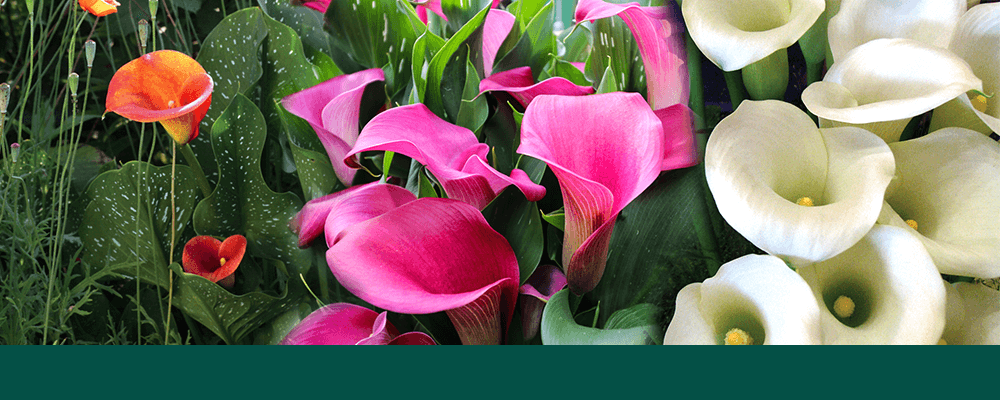
Zantedeschia aethiopica is larger than most other Calla Lilies. It has large, glossy leaves that are almost arrow-shaped and classic-looking white, vase-like flowers. Hardy through zones 6 to 10, they are often found along the river’s edge in South Africa and thus are considered semi-aquatic. So, if you’re looking for the perfect addition to add to a backyard pond—look no further.
This beautiful Calla Lily can be planted in a pot with a good compost medium and then be submerged into the water just below surface level. Just be sure to add gravel around the top of the pot, as it will help to hold the soil in place. They are pretty much completely critter resistant and will bloom from mid to late summer.
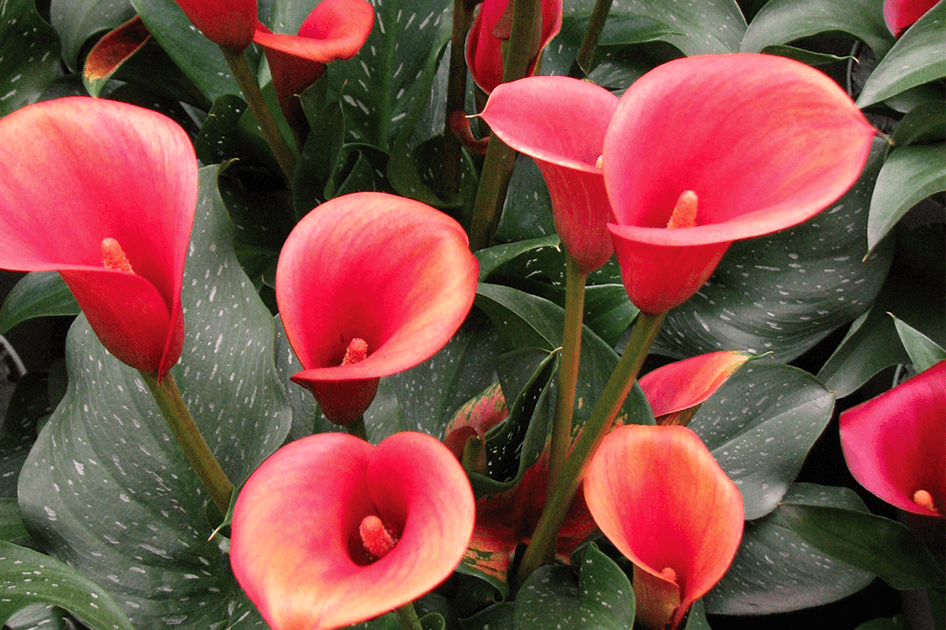
Another elegant white variety of Zantedeschia, the albomaculata, comes adorned with emerald green leaves that showcase delicate creamy white speckles that match their blooms. While it is somewhat similar in appearance to the aethiopica, the albomaculata prefers to sleep in a dry bed rather than a wet one. This beautiful variety will thrive well in full to partial sun and would enjoy living in a raised bed with adequate drainage.

Zantedeschia Picasso flowers offer a blended combination of creamy-white with a beautifully rich purple throat and a backdrop of beautifully spotted leaves. They also prefer to sleep in a dry bed and do particularly well when planted in a raised bed.
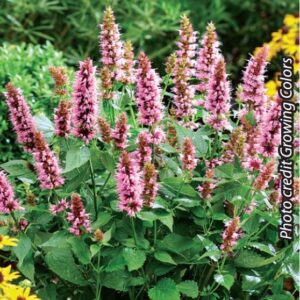
Calla Lilies are already well known as a graceful and popular cut flower, but what many don’t know about this plant is how truly versatile it is. It makes for a wonderful companion plant to other beautiful perennials like Larkspur or Achillea, or they can make a statement all on their own.